

Sharing Files with Documents
Preview feature
This feature is currently in preview. If you don't see it, contact us or your Admin to activate it.
Preview features:
- are provided as-is and aren't meant for production use.
- may have limited or restricted functionality, and details may change before general availability.
- are supported on a best-effort basis and may be subject to reduced or different security, compliance, and privacy commitments.
Documents lets you share files in the Embedsy Portal, next to your Power BI reports: PDFs, spreadsheets, images, or any other file type you allow. Admins organize the files in folders and decide per role who can see each folder and who can change its contents. Users find the folders their role can see in a Documents section of the navigation menu.
Files are stored in the Azure Blob Storage of your own Embedsy installation.
Opening the Documents page
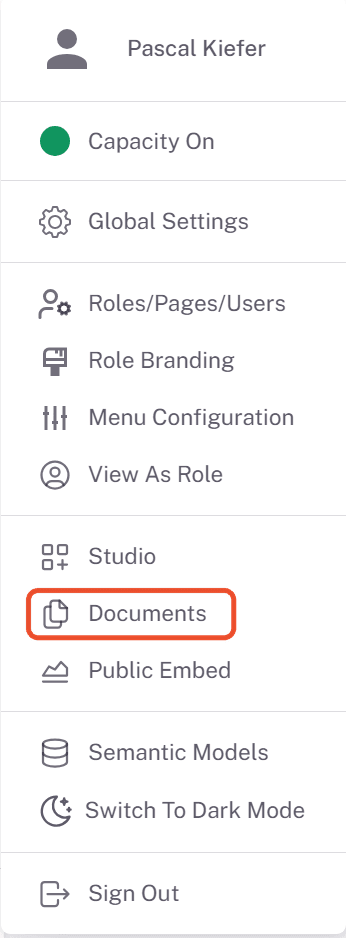
Admins and super admins manage all folders and files on the Documents page. Open it from the user menu at the bottom of the portal navigation:
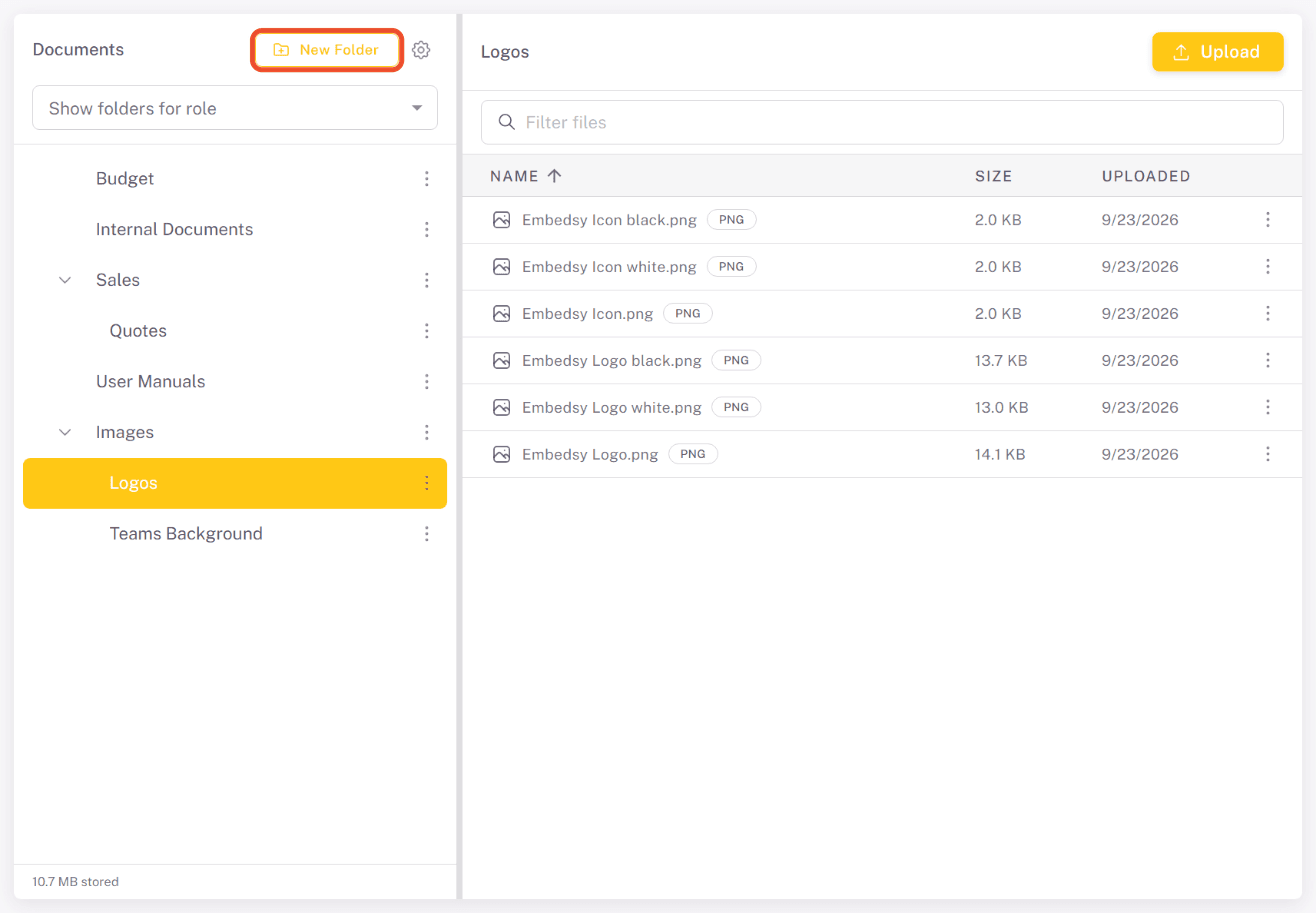
The folder tree is on the left and the files of the selected folder are on the right. The total storage used by all files is shown at the bottom of the folder tree. On this page, admins see every folder, whether or not a role has access to it.
Creating folders
- Click New Folder at the top of the folder tree.
- Enter a name and click Save. Folder names must be unique within the same parent folder (upper and lower case count as the same).
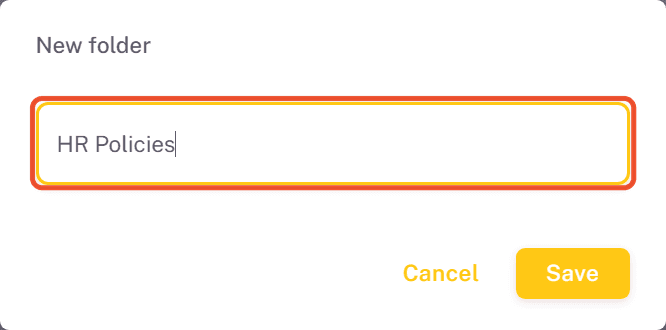
A new top-level folder has no access, so only admins can see it on the Documents page. Give roles access to it as described in Giving roles access to a folder.
Organizing folders
Click the ⋮ button next to a folder to manage it:
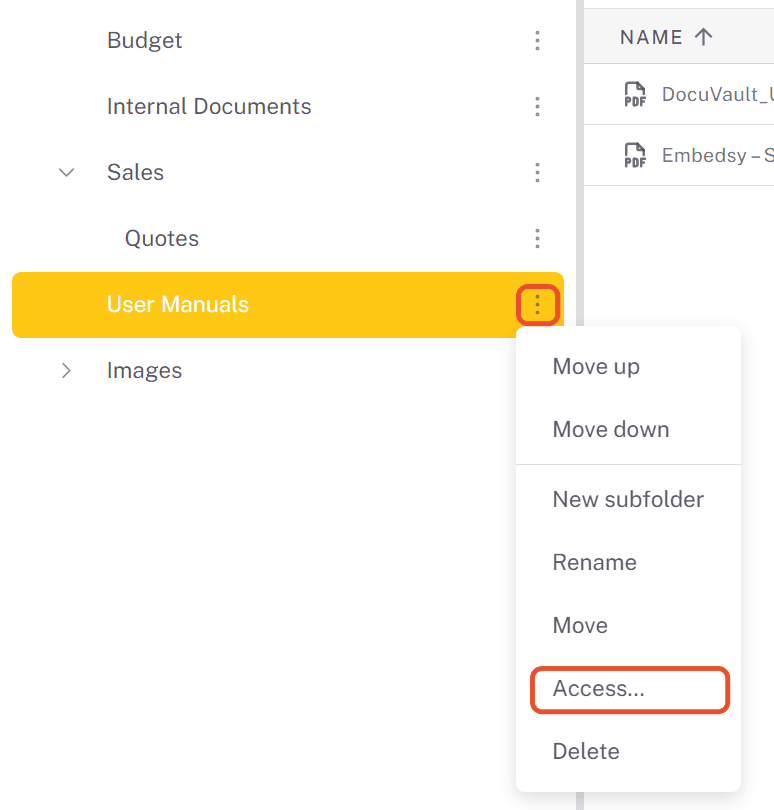
- Move up / Move down change the folder's position among its siblings. This order is also used in the navigation menu.
- New subfolder creates a folder inside this one.
- Rename and Move rename the folder or move it under a different parent folder (or to the top level).
- Access… sets which roles can see and edit the folder.
- Delete deletes the folder including all its subfolders and files. This cannot be undone.
You can also drag and drop folders in the tree: drop a folder onto another folder to move it inside, between two folders to change the order, or onto Drop here to move to top level below the tree. Moving a folder to a different parent asks for confirmation first, because the folder then inherits its new parent's access unless it has access of its own.
Giving roles access to a folder
- Click ⋮ next to the folder and select Access….
- Check each role that should see the folder. Also check Can edit if users with this role should be able to upload, rename, move and delete files in the folder. Without it, they can only view and download files. Use Search roles to find a role quickly.
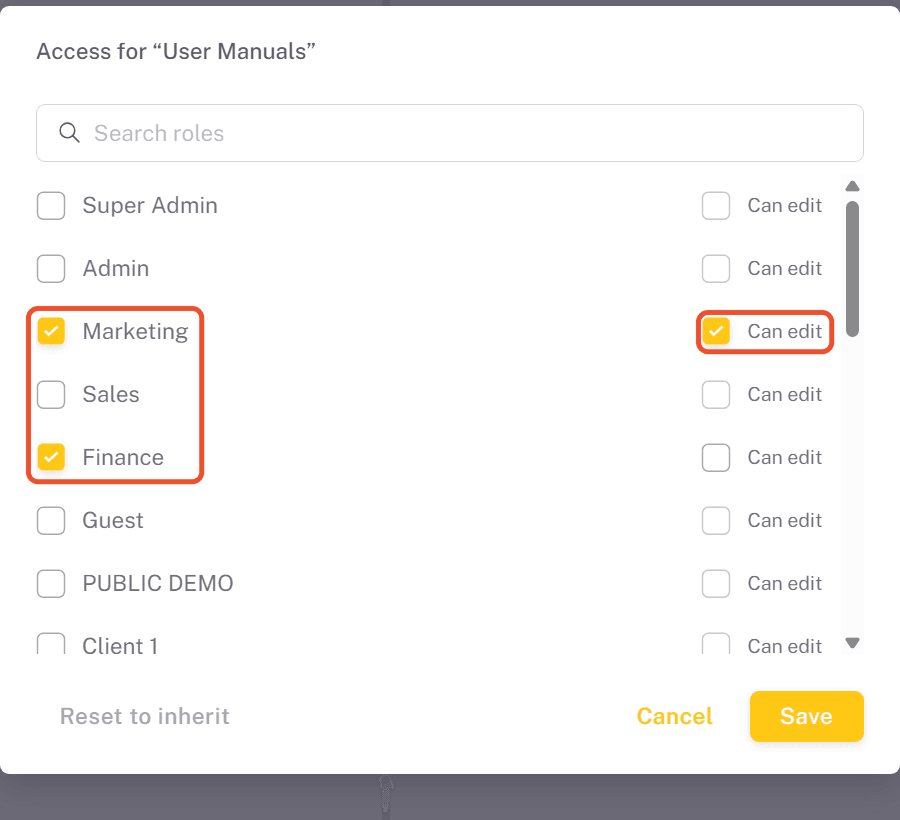
- Click Save.
The list includes both portal roles and Entra roles, marked with (Entra). Combined Entra roles (users who are in all of the listed groups) are listed separately at the bottom. The search only filters the list: roles you checked stay selected while they are hidden.
Admin roles are listed too. Admins always see every folder on the Documents page, but the Documents section in their own navigation menu only shows folders their role has been given access to. Opening a folder from there shows it the way users see it, without the folder tree.
Inherited access for subfolders
A subfolder inherits its access from the nearest parent folder that has access set. When you open Access… on such a subfolder, the dialog shows where the access comes from. Saving a selection there overrides the inherited access for this folder and everything inside it.
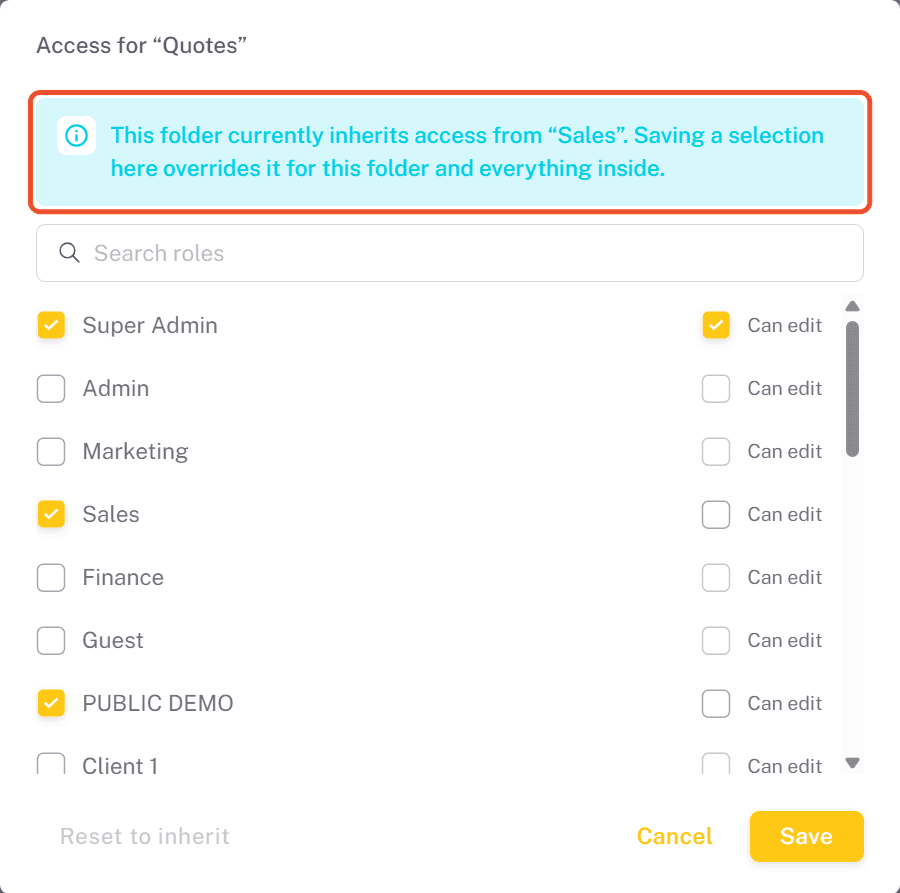
In the folder tree, a subfolder with its own access is marked with a lock icon. To make it inherit from its parent again, open Access… and click Reset to inherit. On a top-level folder, or where no parent folder has access set, resetting removes all access, so only admins can see the folder.
Uploading files
Select a folder and click Upload, or drag files from your computer onto the file list. You can upload several files at once.
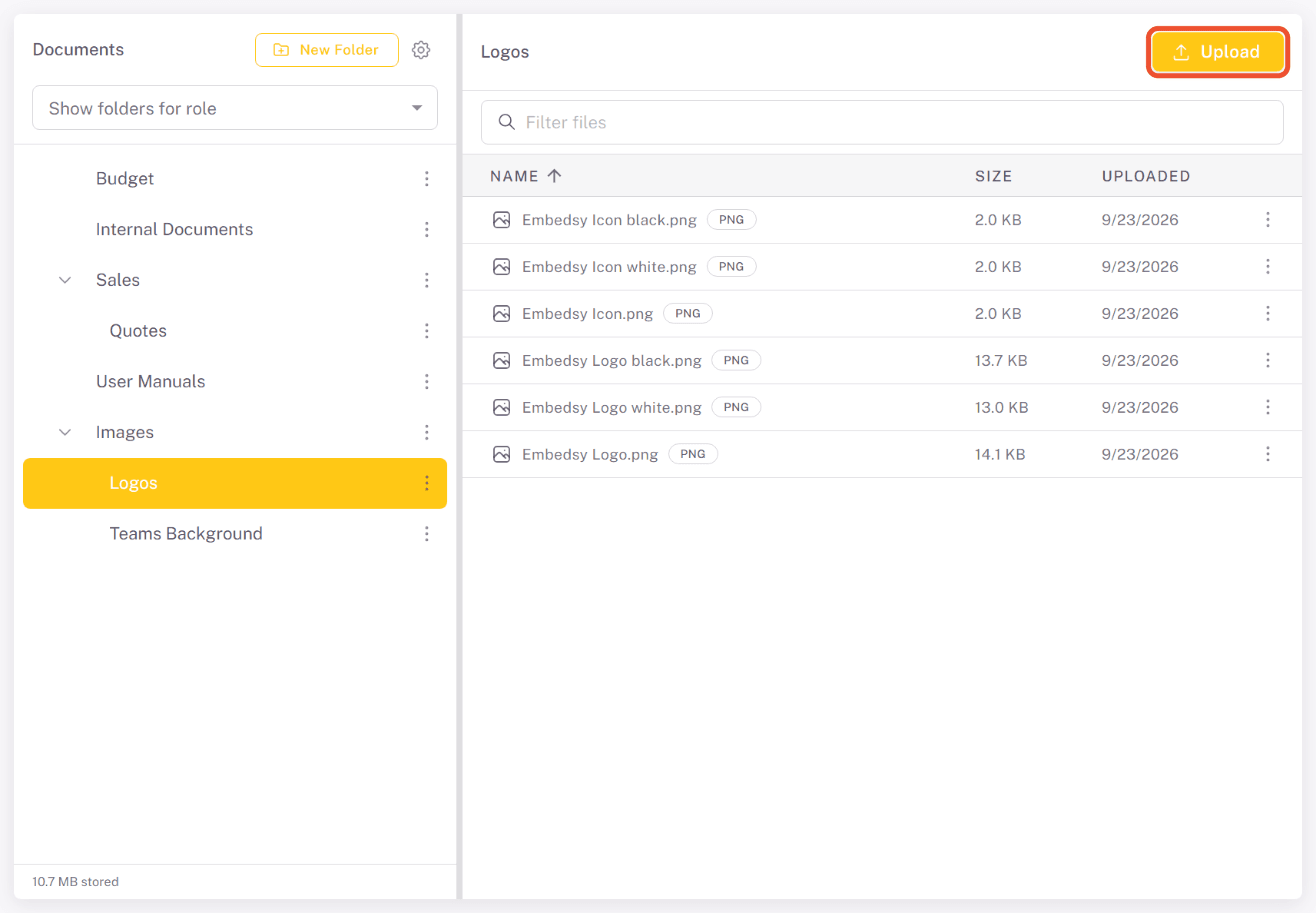
If a file with the same name already exists in the folder, the portal asks before uploading. Upload anyway keeps both files under the same name. Files that are larger than the maximum size or have a file type that isn't allowed are rejected (see Upload settings).
Viewing and managing files
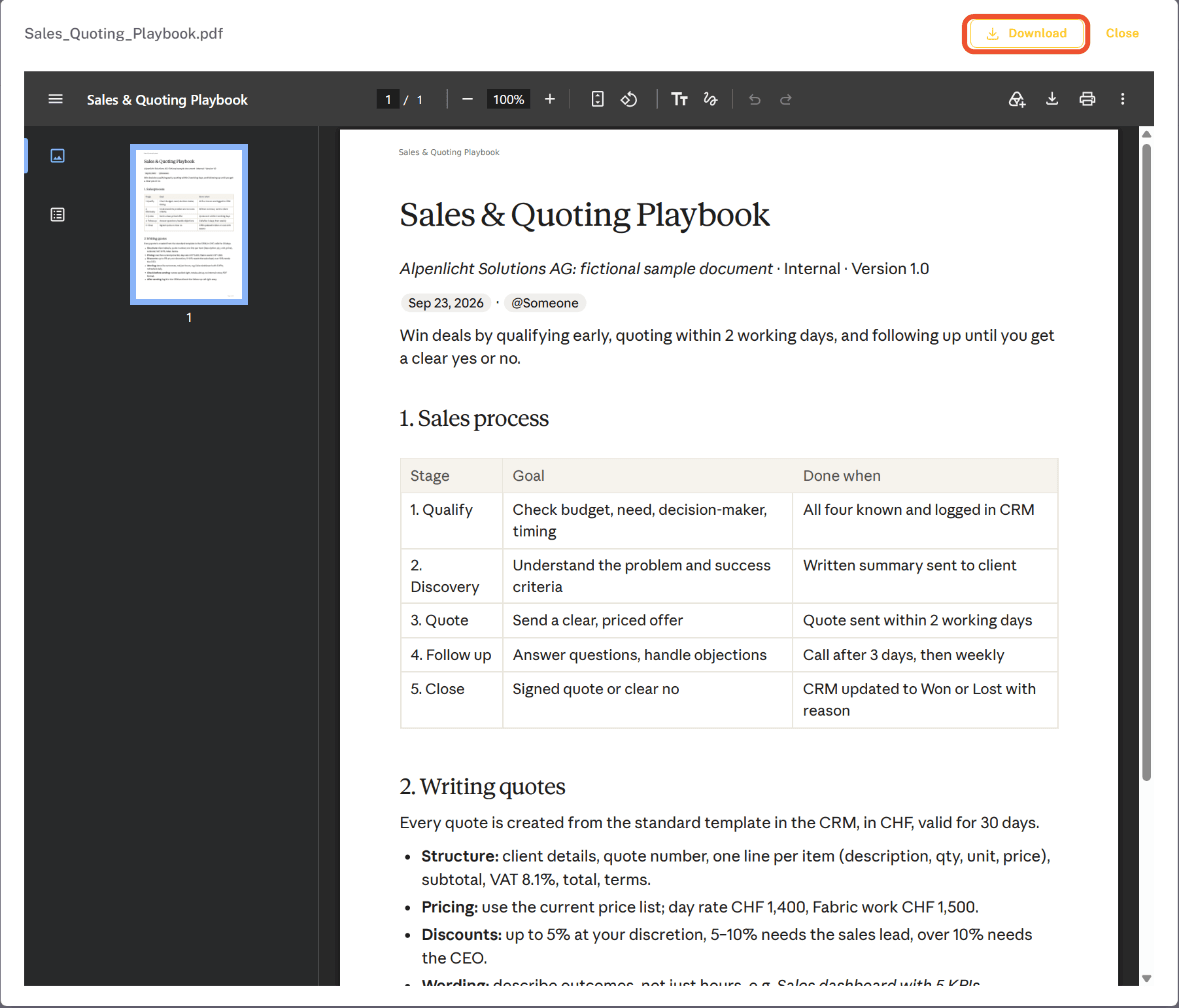
Click a file to open it. PDFs and PNG, JPEG, GIF and WebP images open in a preview, and you can download them from there. Other file types are downloaded directly. On a phone, PDFs open in a new browser tab instead of the preview.
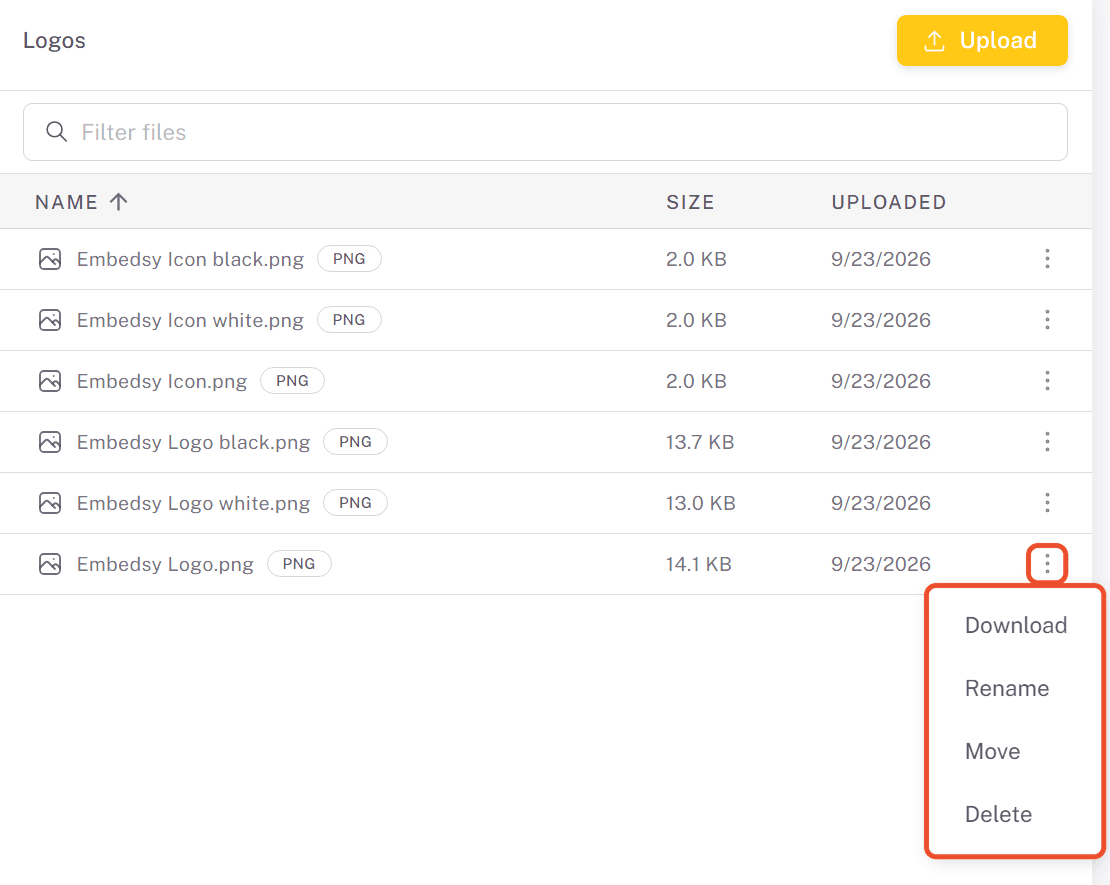
Click ⋮ next to a file for more actions. Download is available to everyone who can see the folder. Rename, Move and Delete are only shown to admins and users whose role has Can edit on the folder. Renaming keeps the file extension, and a file can only be moved to a folder where you can also edit.
Use Filter files to search the selected folder by name, and click a column header to sort by name, size or upload date. On the Documents page, admins can also drag a file onto a folder in the tree to move it there (after a confirmation).
Upload settings
Click the gear icon next to New Folder to open the upload settings. They apply to all folders.
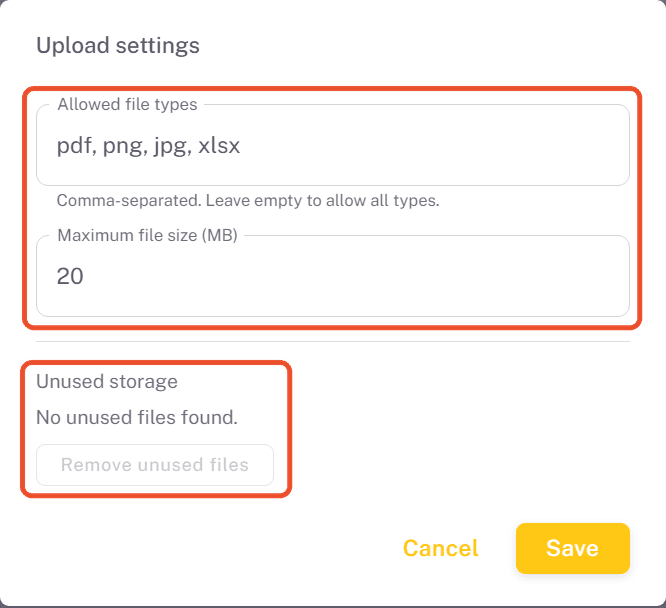
- Allowed file types - a comma-separated list of file extensions, for example
pdf, docx, xlsx. Leave it empty to allow all file types. - Maximum file size (MB) - the largest file that can be uploaded, from 1 to 200 MB. The default is 200 MB.
- Unused storage - shows files that are still in storage but no longer belong to a folder, for example after an interrupted upload or deletion. Click Remove unused files to delete them.
Checking what a role can see
Select a role in Show folders for role to show only the folders that role can see. Combined Entra roles are listed too, marked (Entra combined). You keep full editing rights while the filter is on. Select All roles to show every folder again.
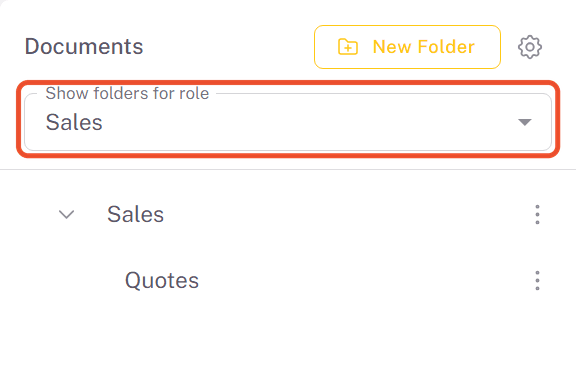
To see the portal exactly as a user with that role does, including the navigation menu, use View As Role.
What users see
As soon as a role has access to at least one folder, users with that role get a Documents section in their navigation menu. It lists the folders they can see, in the same structure and order as on the Documents page. Folders with subfolders can be expanded, and clicking a folder opens its files.
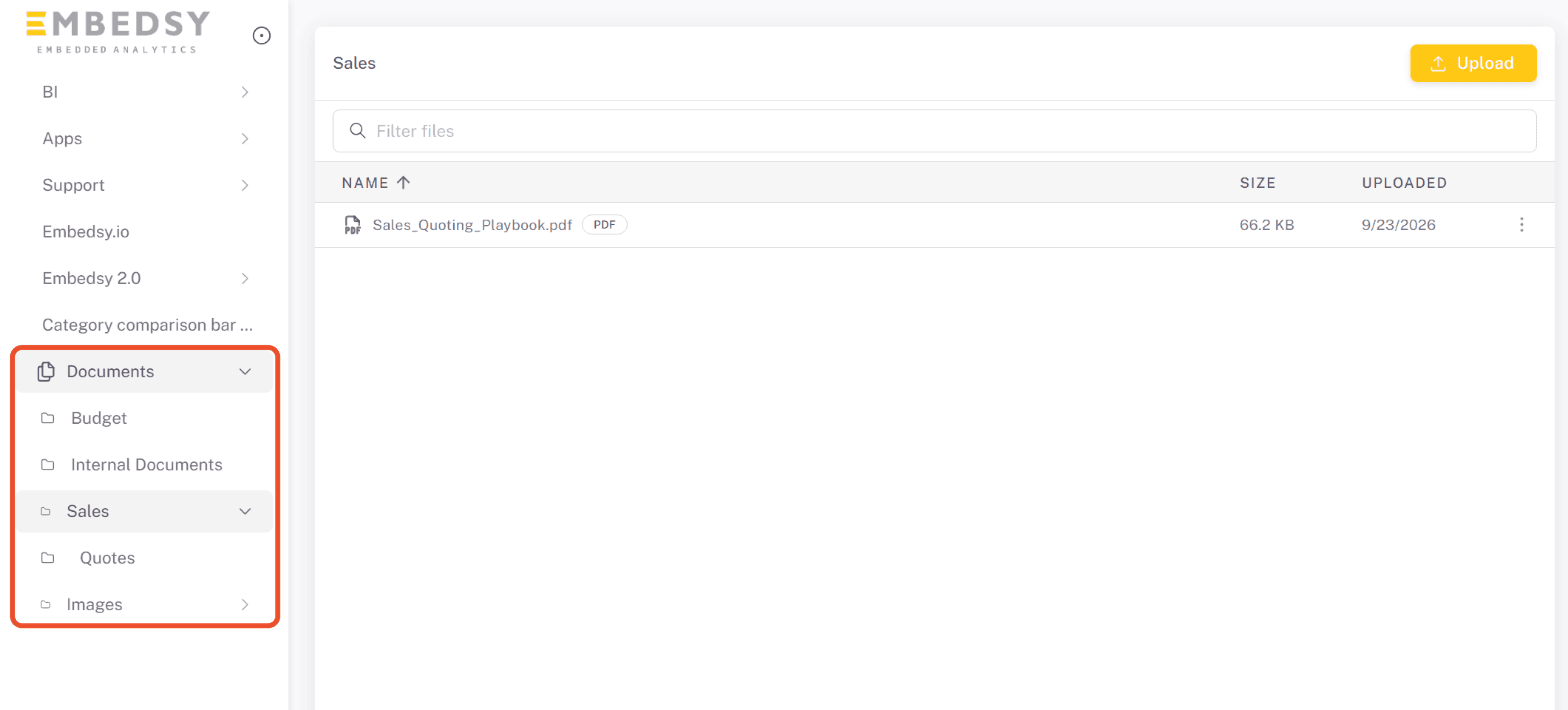
Users see only the folders and files their role has access to. In folders where their role has Can edit, they also get the Upload button and can rename, move and delete files. Users who have no reports but can see documents are taken straight to their documents when they sign in.
Positioning Documents in the navigation menu
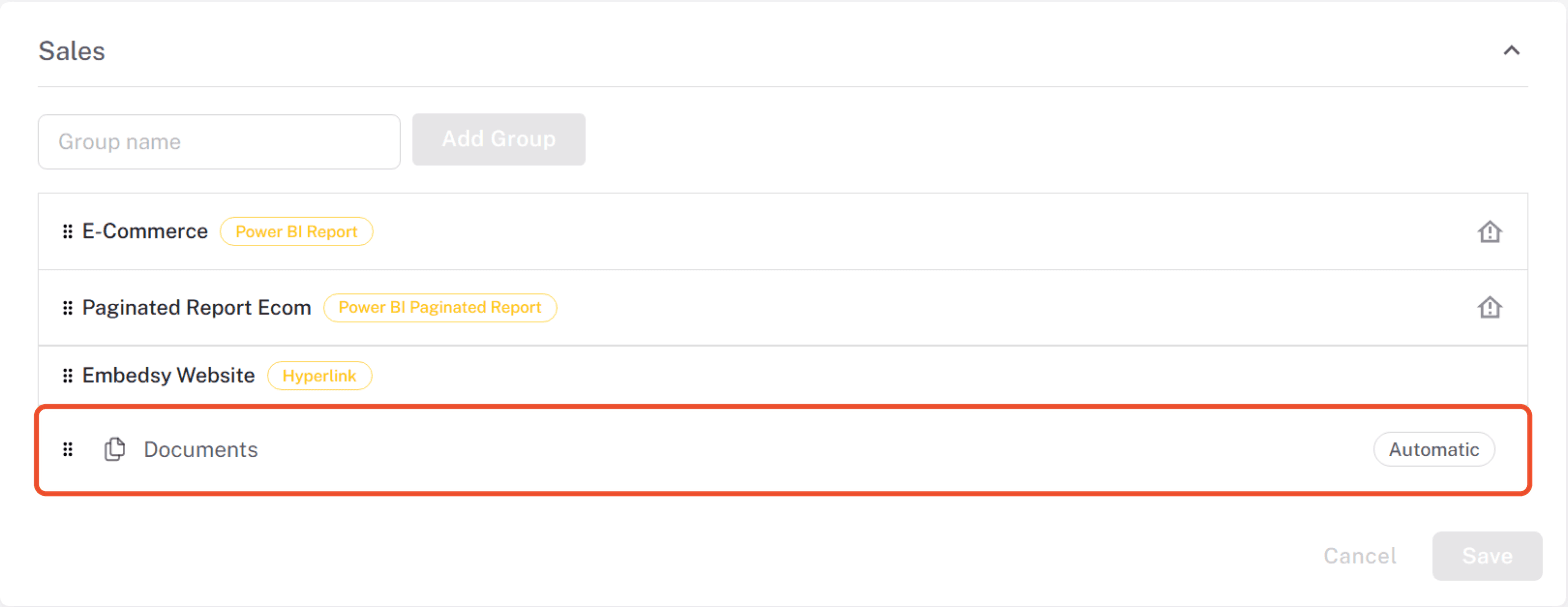
In Menu Configuration, each role with access to at least one folder has a Documents entry marked Automatic. Its content comes from the folder access, so you don't add pages to it. Drag it to where it should appear in that role's menu and click Save.