

Role Branding
Role Branding gives each role in the Embedsy Portal its own logo, favicon, colors and loading spinner, so every client served from one portal sees their own brand. Set it by hand, or let the portal generate it from a company's website.
Opening Role Branding
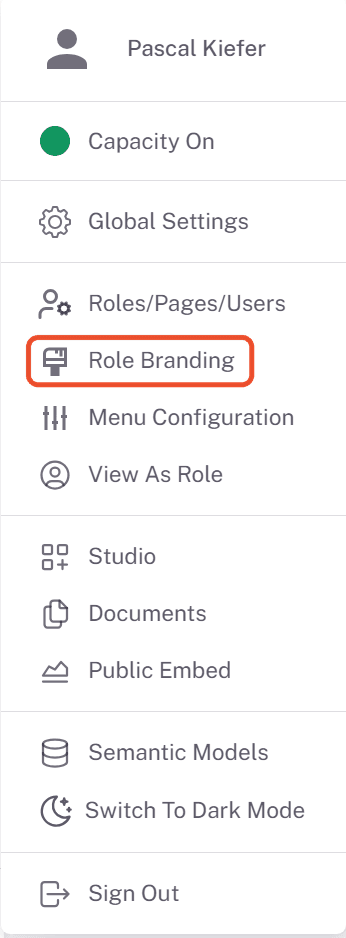
Admins open Role Branding from the user menu at the bottom of the portal navigation:
The page lists one row per role, with a column for each branding setting. Once users belong to several imported Entra groups, an Entra Roles tab appears next to Roles for the combined Entra roles.
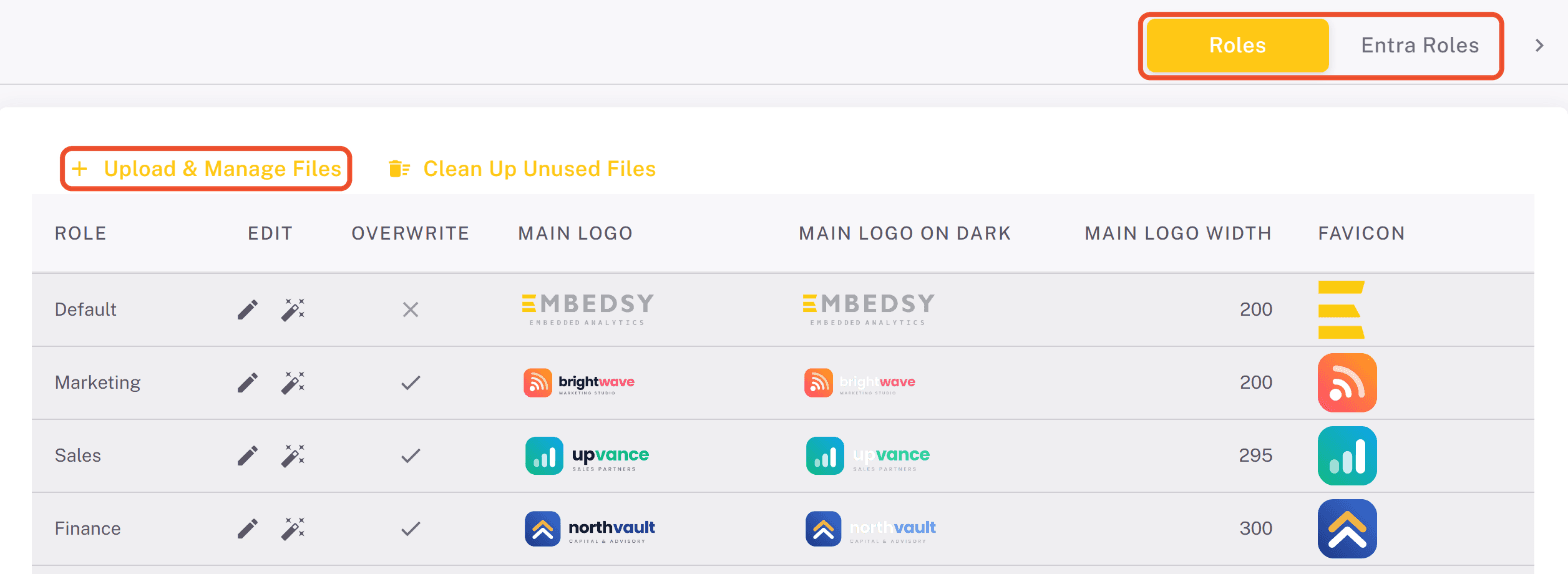
The Default row is the portal's default branding. It is used:
- on the pages people see before they sign in: the landing page with the login form, and the sign-up page;
- for every role that doesn't have its own branding, that is, every role without Overwrite checked.
Like any other row, the Default row only takes effect when its Overwrite is checked. Otherwise the portal shows its standard look.
Uploading logos and other files
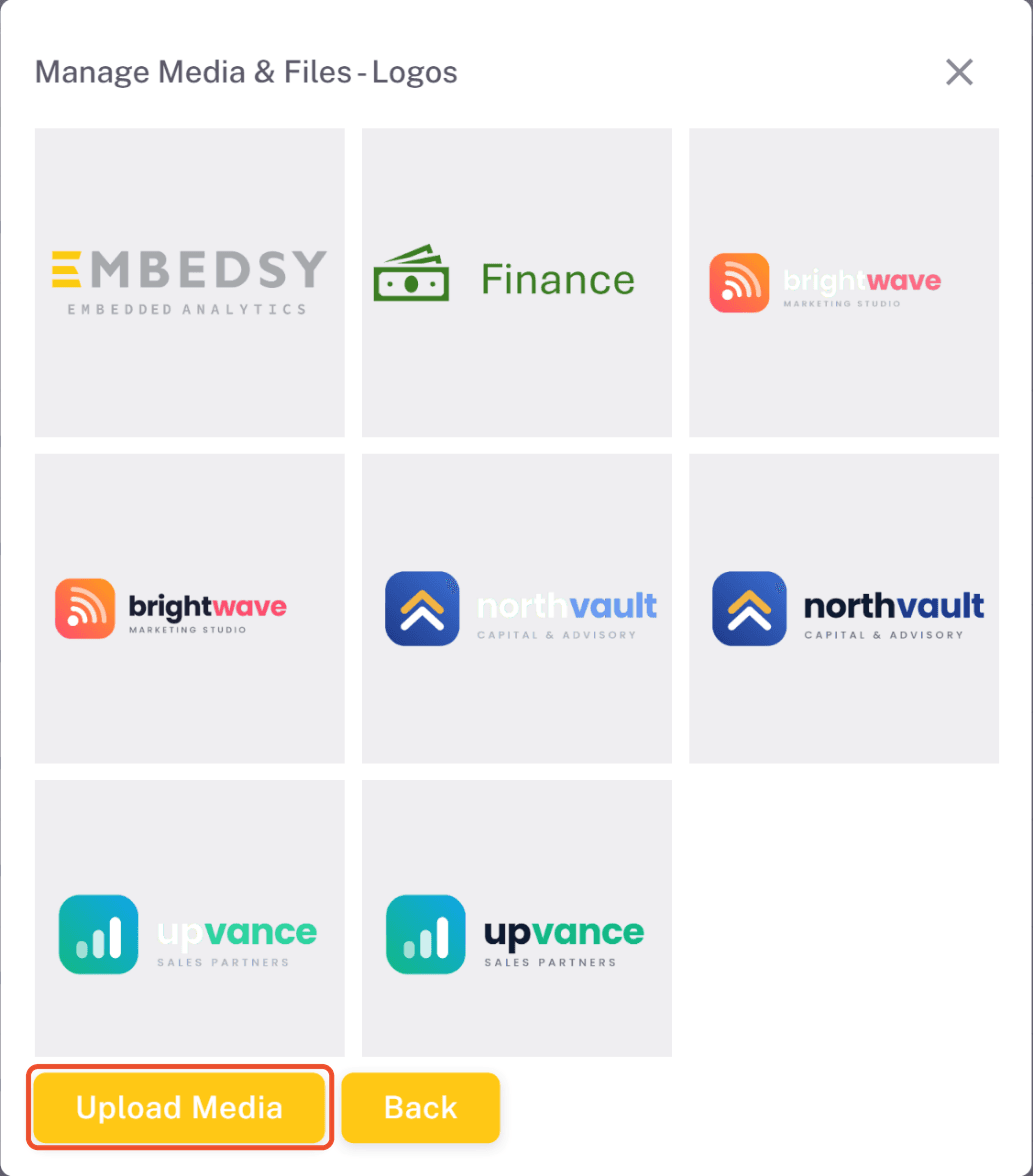
Branding settings use files you have uploaded to the portal. Click Upload & Manage Files above the table and choose the type of file to upload or manage: logos, favicons, loading spinners, landing page images or Power BI themes.
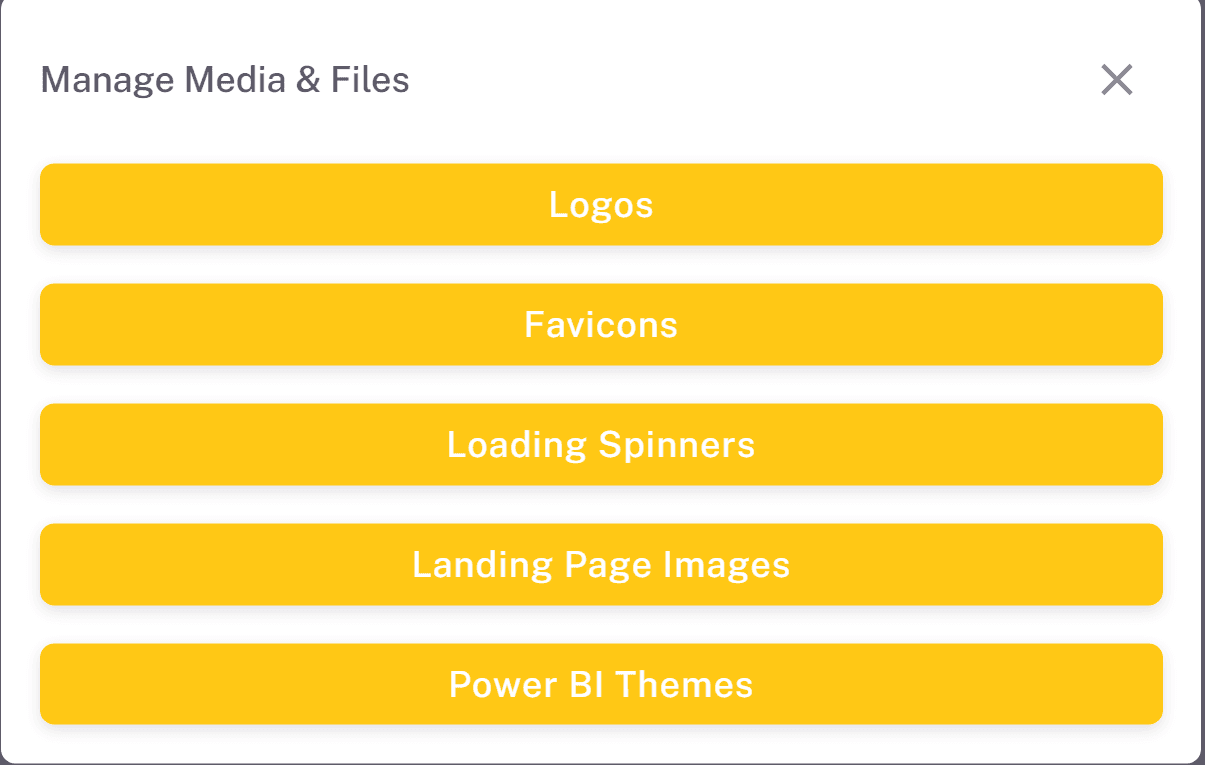
Each type opens a folder with the files already uploaded. Click Upload Media to add new ones.
Cleaning up unused files
When you replace a logo or remove it from a role, the old file stays in storage. To remove files that nothing in the portal uses anymore, click Clean Up Unused Files above the table.

The list shows every unused branding file, newest first. Select the files you want to remove, or all of them with the checkbox in the header, and click Delete Selected.
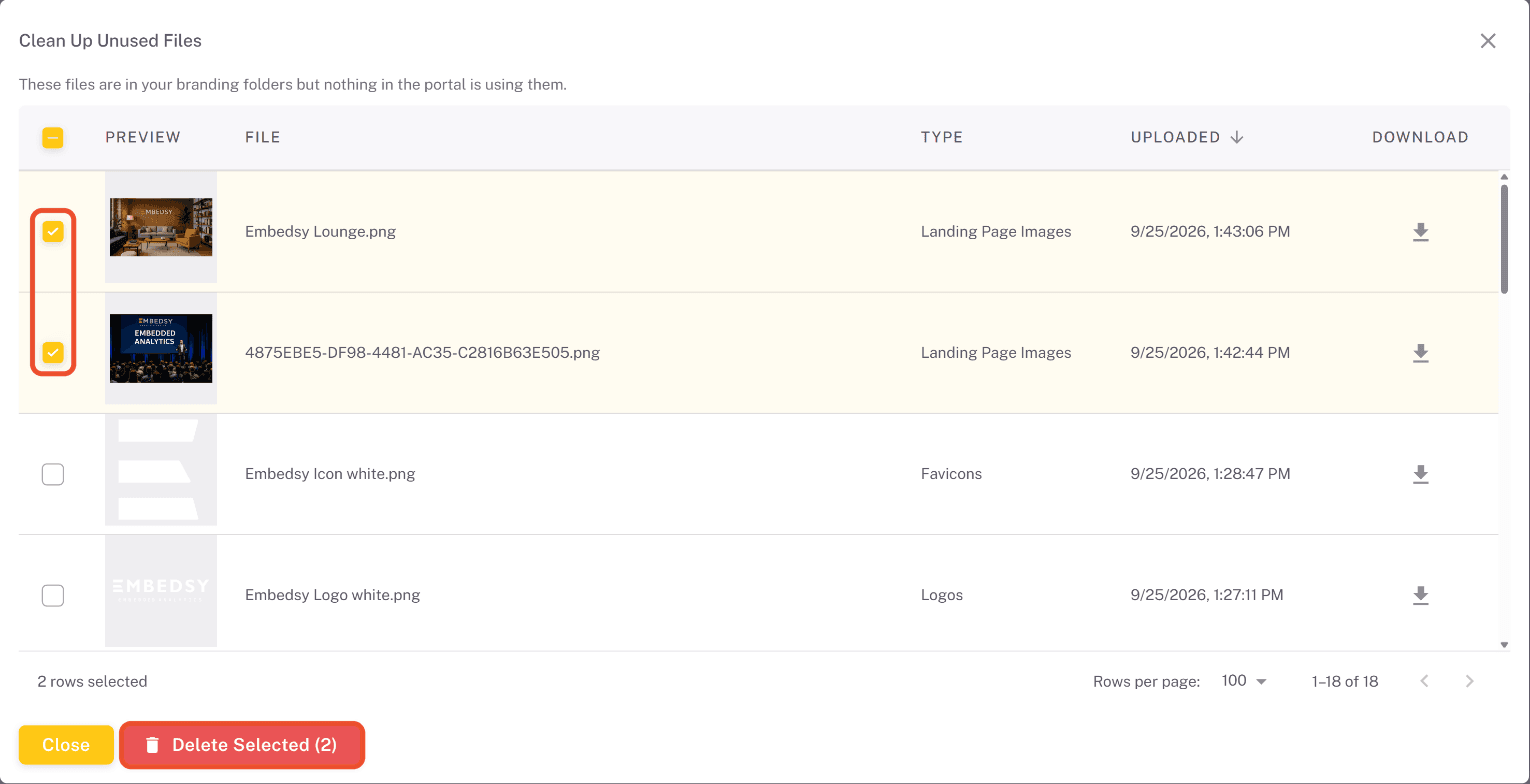
Confirm with Delete. The files are removed from your storage account and can't be restored, so download anything you may still need first with the download icon.

Setting a role's branding
- Click the pencil icon in the Edit column of the role's row.
- Check Overwrite. Only roles with Overwrite checked get their own branding. If it is unchecked, the role's settings are kept but not used, and users with that role see the Default branding.
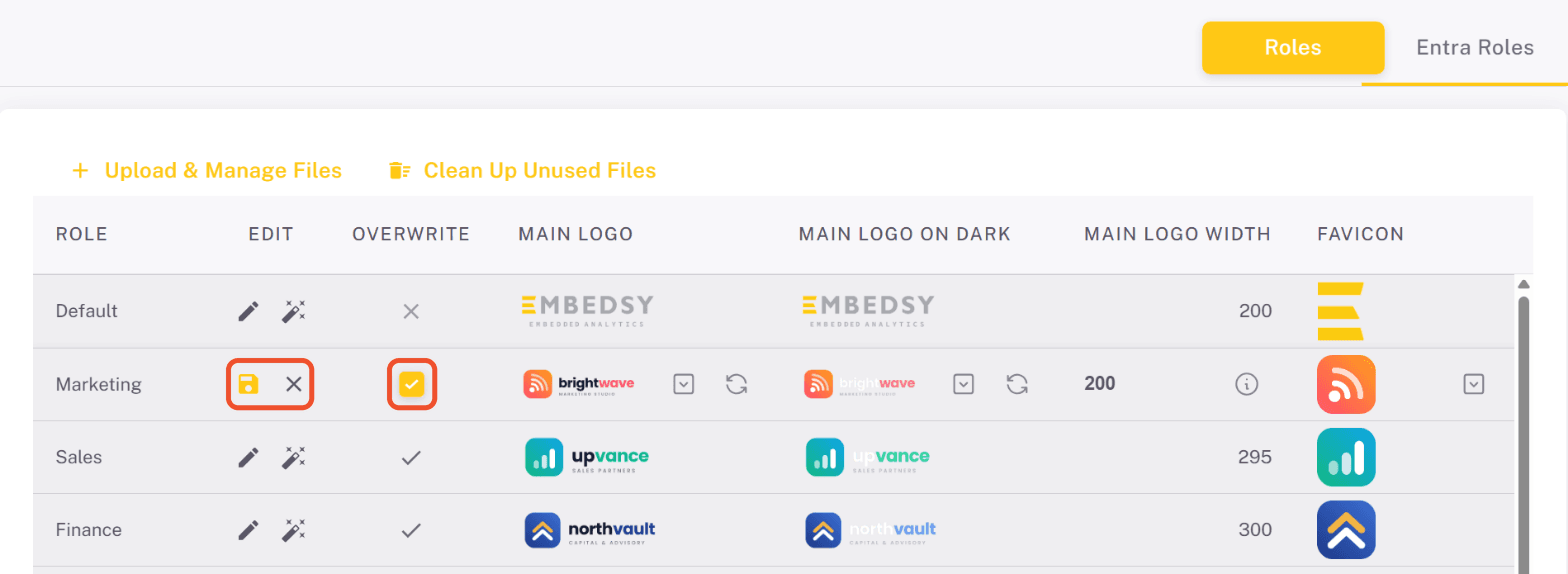
- For each image, click the select icon in its cell and pick one of the uploaded files. Type widths and colors directly into their cells.
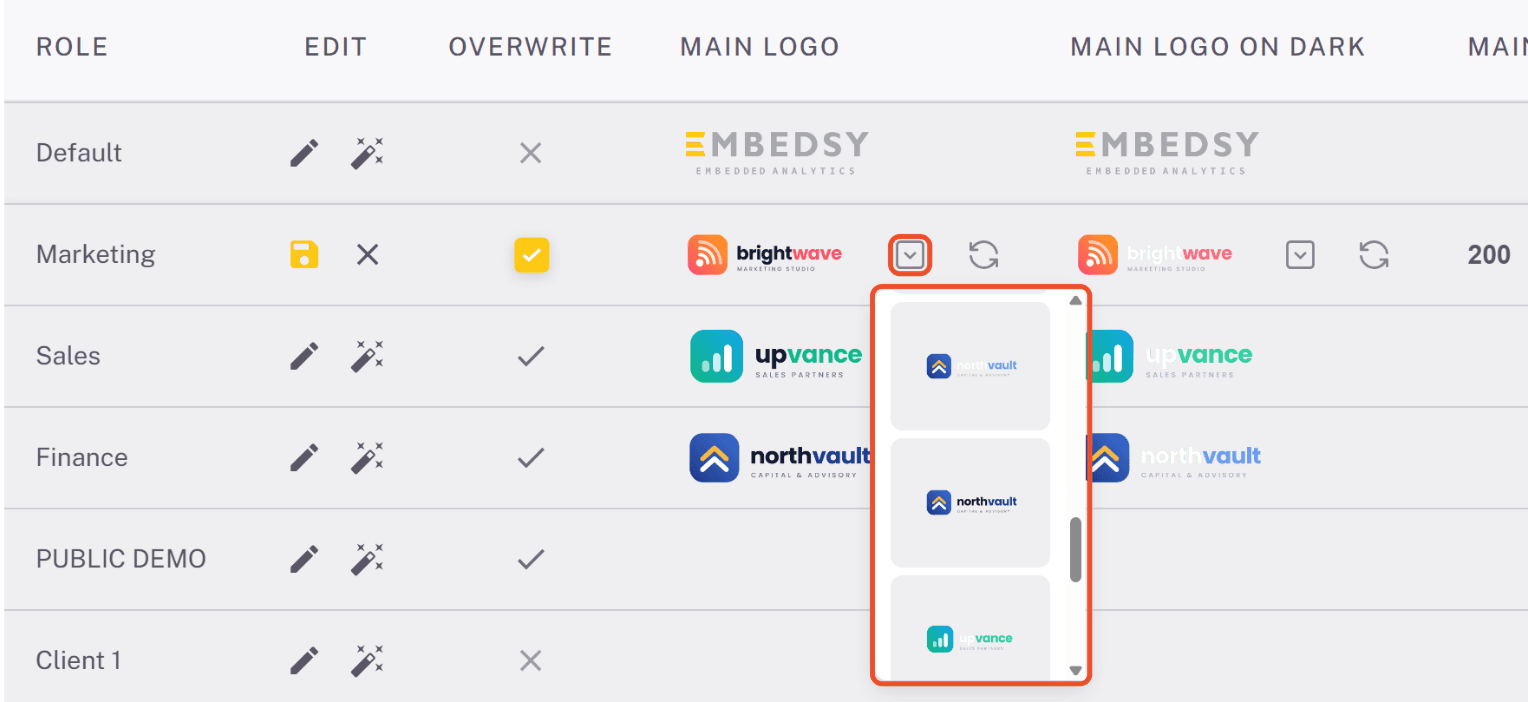
- Click the save icon to save the row, or the ✕ to discard your changes.
Branding settings
Most settings come in pairs: the normal value, and an On Dark value that is used when the portal is in dark mode.
- Main Logo / Main Logo On Dark - the logo at the top of the navigation. Main Logo Width sets its width, from 10 to 300.
- Favicon / Favicon On Dark - the icon in the browser tab. Favicon Width sets its width, from 10 to 50.
- Main Color / Main Color On Dark - the accent color of the portal, as a hex value.
- Loading Spinner / Loading Spinner On Dark - the animation shown while pages and reports load. Loading Spinner Width sets its width, from 20 to 300.
- Power BI Light Theme / Power BI Dark Theme - a Power BI report theme (JSON) for the role's reports.
- Login Page Image - the image on the landing page, next to the login form.
- Registration Page Image - the image on the sign-up page.
Both can only be set on the Default row, because nobody has signed in yet when these pages are shown.
Generating branding from a website
Instead of uploading everything yourself, you can let the portal build the branding from a company's website. It reads the logo, favicon and colors from the site and makes a loading spinner to match. On the Default row it also suggests login and sign-up page images.
- Click the magic wand icon (Auto-generate branding) in the role's row.
- Enter the company's domain, for example
example.com, and click Let's try our luck.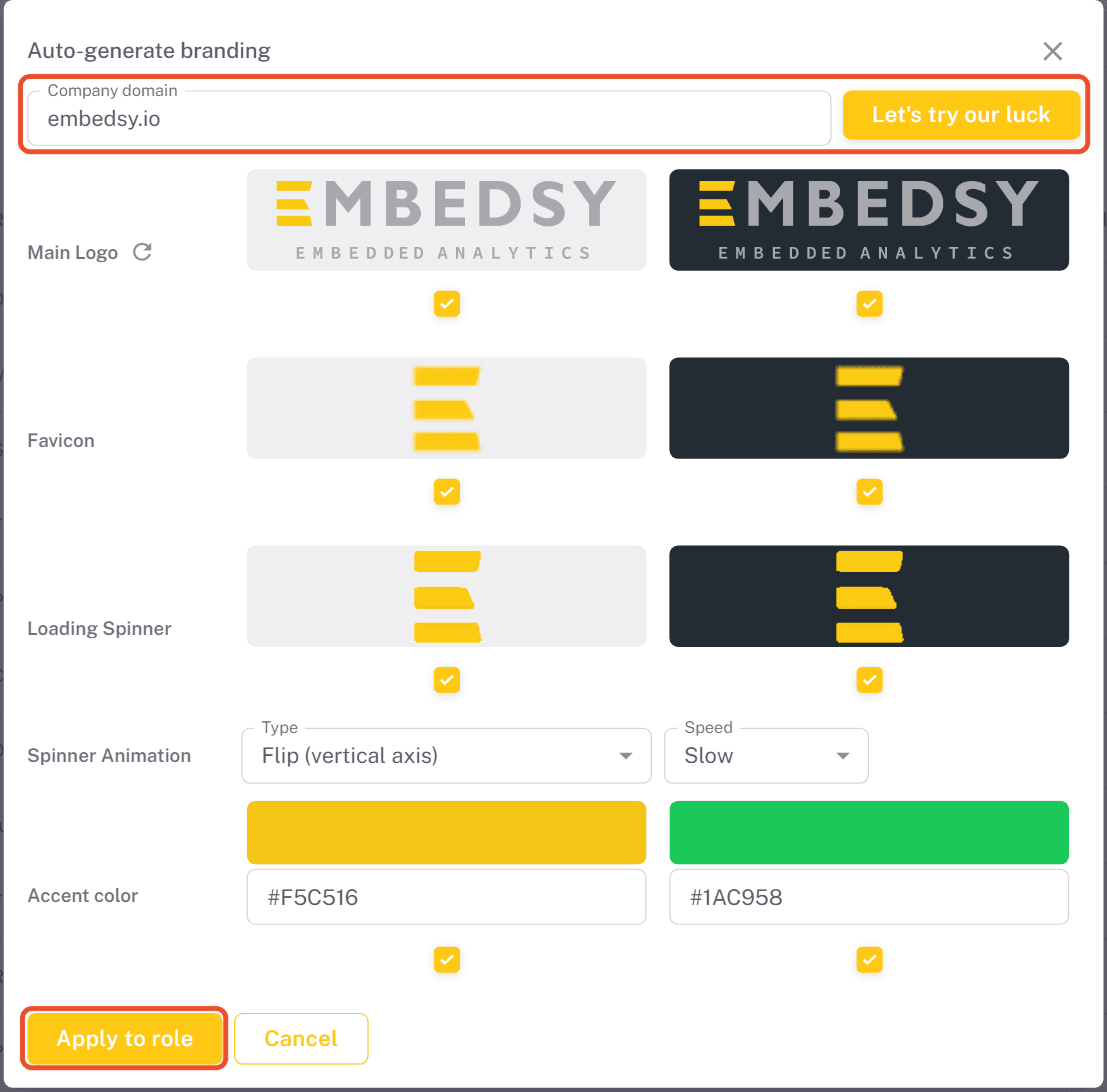
- Review the result. The arrow next to Main Logo or Favicon tries another image from the site, and you can pick the spinner animation and speed and change the colors. Uncheck anything you don't want to use.
- Click Apply to role. The selected files are uploaded and applied to the role.
Apply to role also checks Overwrite for the role. Users with that role see the new branding straight away.
Checking the result
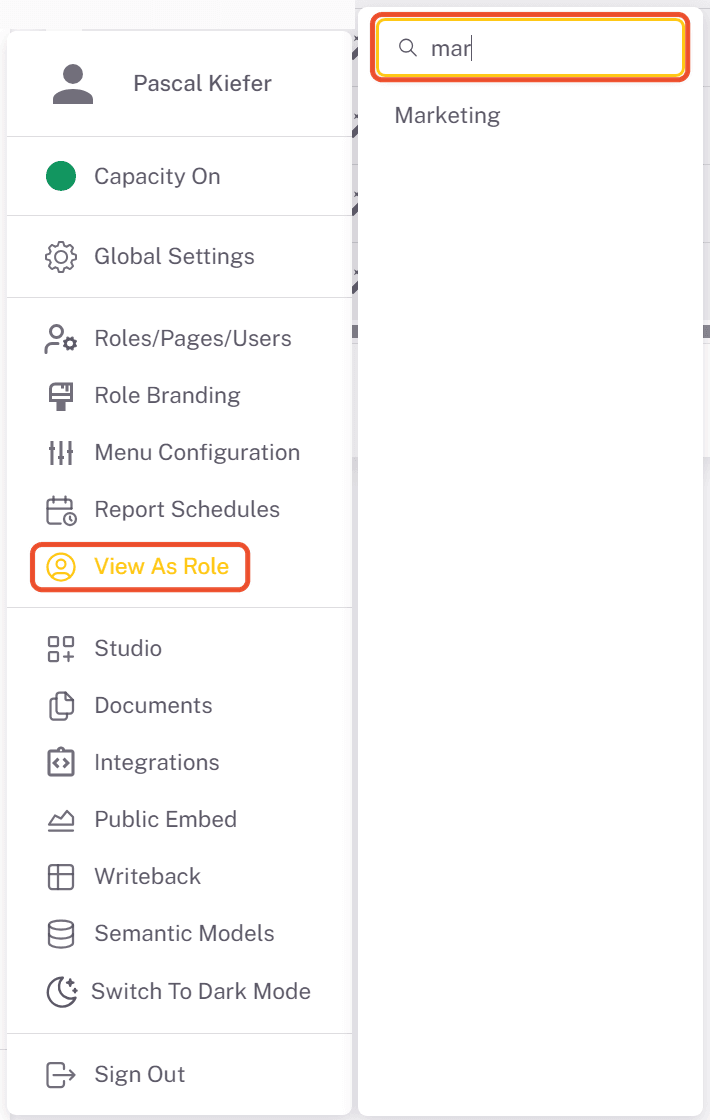
To check a role's branding without signing in as one of its users, use View As Role:
- In the user menu, click View As Role, search for the role and select it.
- The portal now shows what users with that role see, including their logo and colors. A bar at the top shows which role you are viewing.
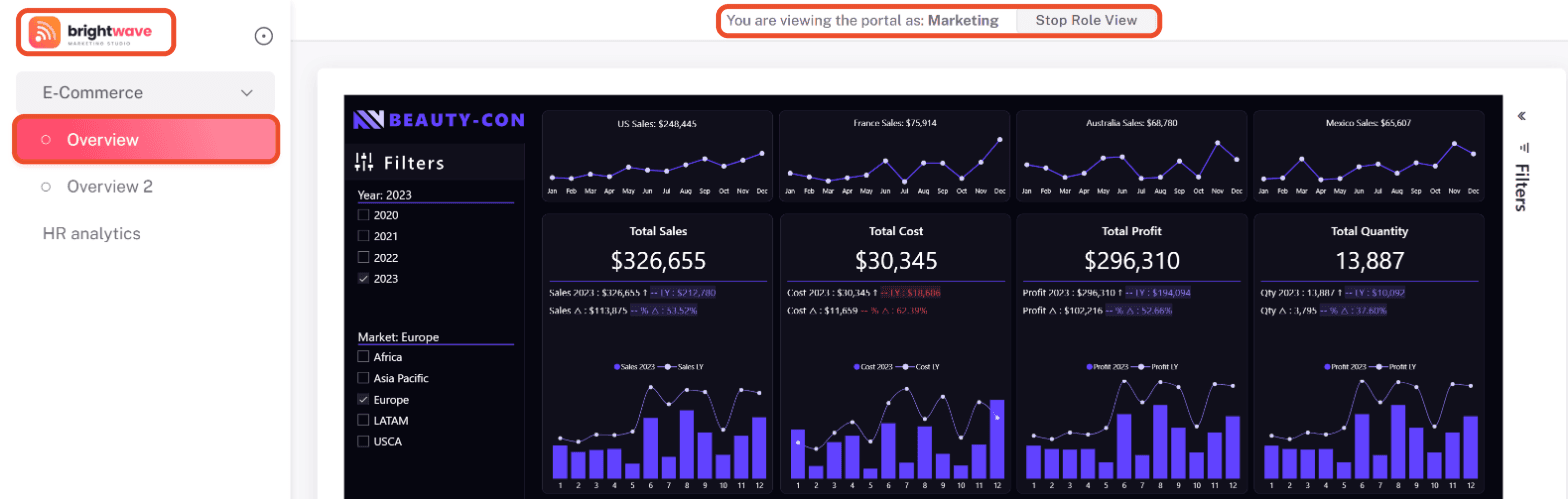
- Click Stop Role View to return to your own view.
Settings that apply to the whole portal, such as the browser tab title and the login page layout, are in Global Settings.