

Global Settings
Global Settings is where you configure the portal as a whole - its branding, how people sign in, the landing page, capacity, integrations and which features are turned on. Everything here applies across the entire portal, not to a single role or report.
On this page
Opening Global Settings
Open Global Settings from the user menu at the bottom of the portal navigation. It is available to admins, but which sections you see depends on your role and on which preview features are switched on:
- General is shown to every admin.
- Portal Service Principal, Users & Authentication, Microsoft Entra Groups, Landing Page, Capacity, Preview Features and Premium Features are shown only to super admins.
- Integrations is shown to super admins when Third-Party Integrations is turned on. Embed Visuals is shown to every admin when Public Embed is turned on.
Changes take effect when you press Save Changes at the bottom of the screen.
General
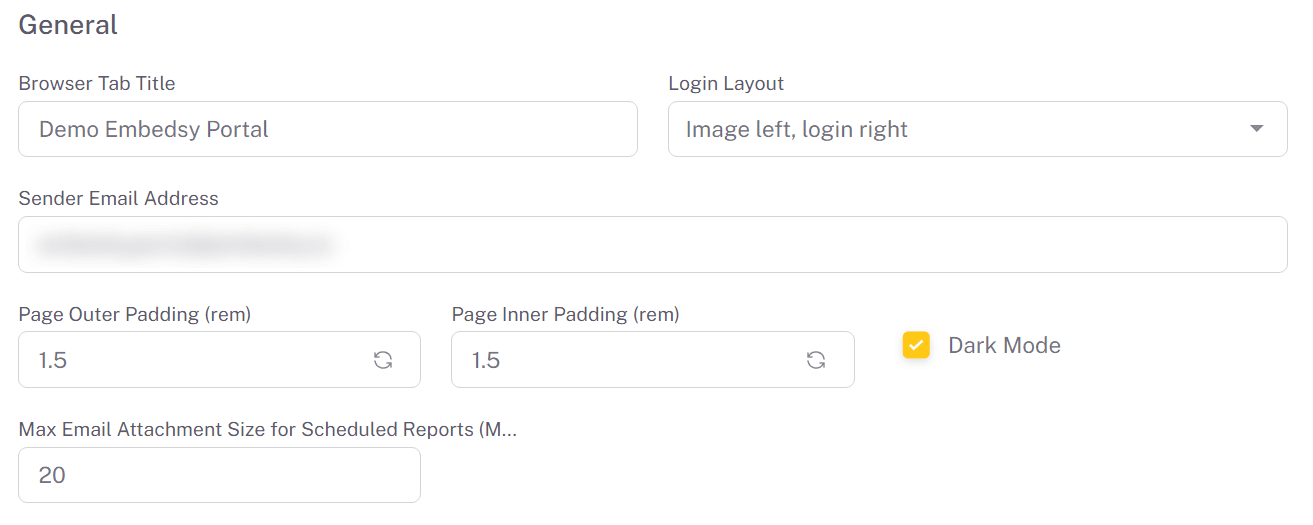
Everyday branding and presentation for the portal:
- Browser Tab Title - the text shown in the browser tab. The Embedsy Portal is fully white-labeled and does not show the Embedsy name anywhere unless you want it to; this is where you put your own title.
- Login Layout - how the login page is arranged, for example the illustration on the left and the login form on the right.
- Sender Email Address - the address that portal emails, such as scheduled report deliveries, are sent from.
- Page Outer / Inner Padding - the spacing around and inside portal pages, in rem, so embedded content sits the way you want. Each has a reset button to return to the default.
- Dark Mode - make a dark theme available in the portal.
- Max Email Attachment Size for Scheduled Reports (MB) - the largest file a scheduled report delivery attaches to its email.
Logos, favicon, main color and loading spinner are set in Role Branding, for the whole portal or for each role.
Portal Service Principal
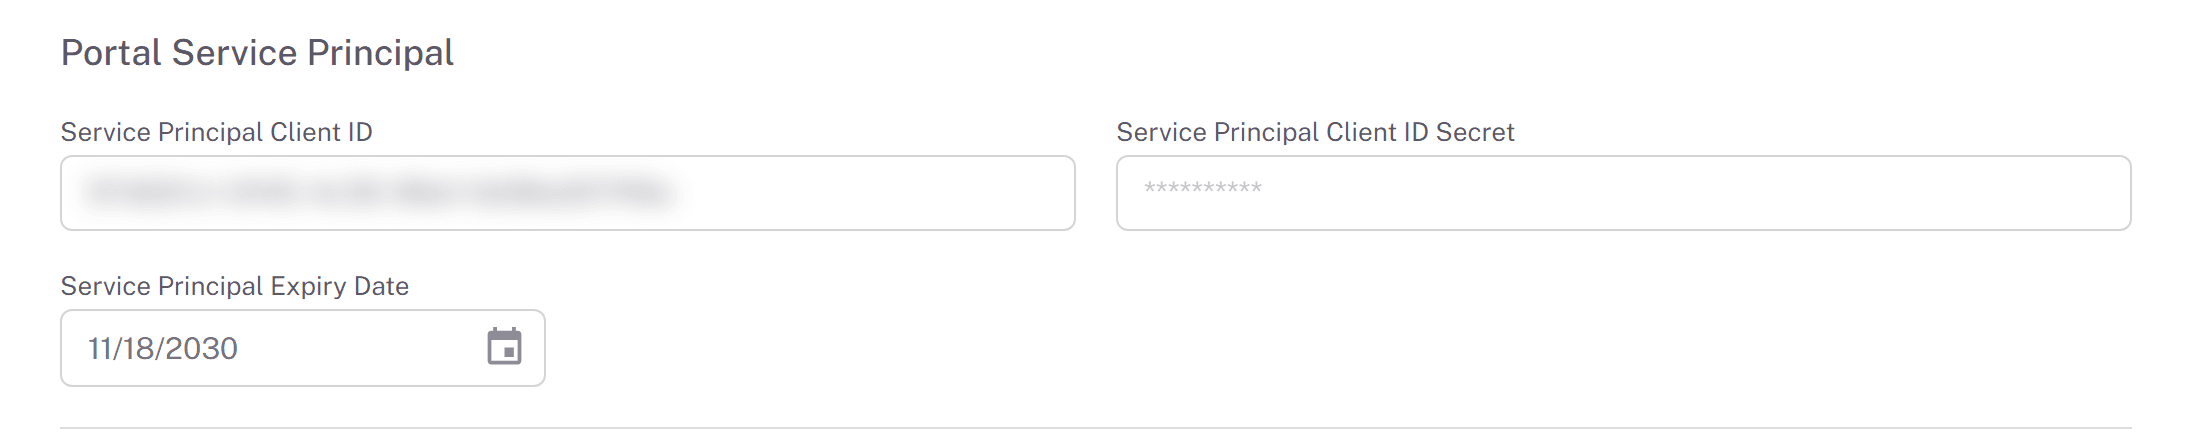
The service principal the portal uses to talk to Power BI, defined by its Client ID, a secret and an expiry date. The expiry date is required when a client ID is entered and must be today or later. The portal does not rotate the secret for you: create a new one before it lapses, or the portal loses access to Power BI. Setting the service principal up is covered in Service Principal, and Update Client Secret walks through rotating the secret.
Users & Authentication
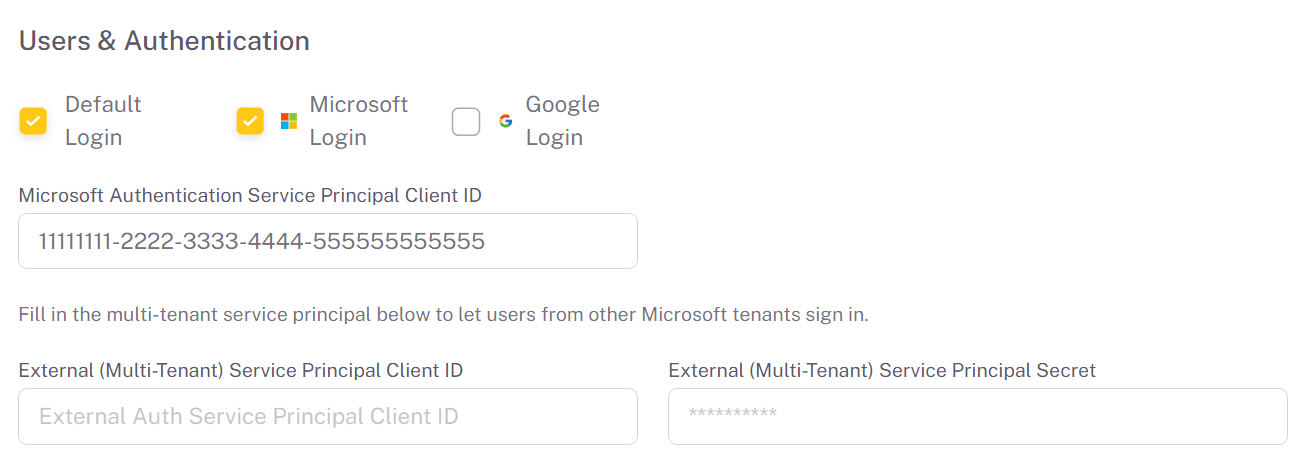
Choose how users sign in. Three options can be enabled independently:
- Default Login - email and password managed by the portal.
- Microsoft Login - sign in with a Microsoft Entra account.
- Google Login - sign in with a Google account.
At least one method must stay active so nobody is locked out - the portal will stop you turning off the last one. Microsoft and Google login each need their own client ID entered here; setting up Google sign-in end to end is covered in Google Auth.
Microsoft Entra Groups
Search your tenant's Microsoft Entra security groups and select the ones the portal should use, so a user's group membership can drive their role and access instead of assigning each user by hand. Only security groups that are not mail-enabled are listed. Unchecking a group and saving deletes its role, including its pages. How this maps groups to roles is explained in Entra Groups as Roles. (Group names are blurred in the screenshot below.)
Landing Page
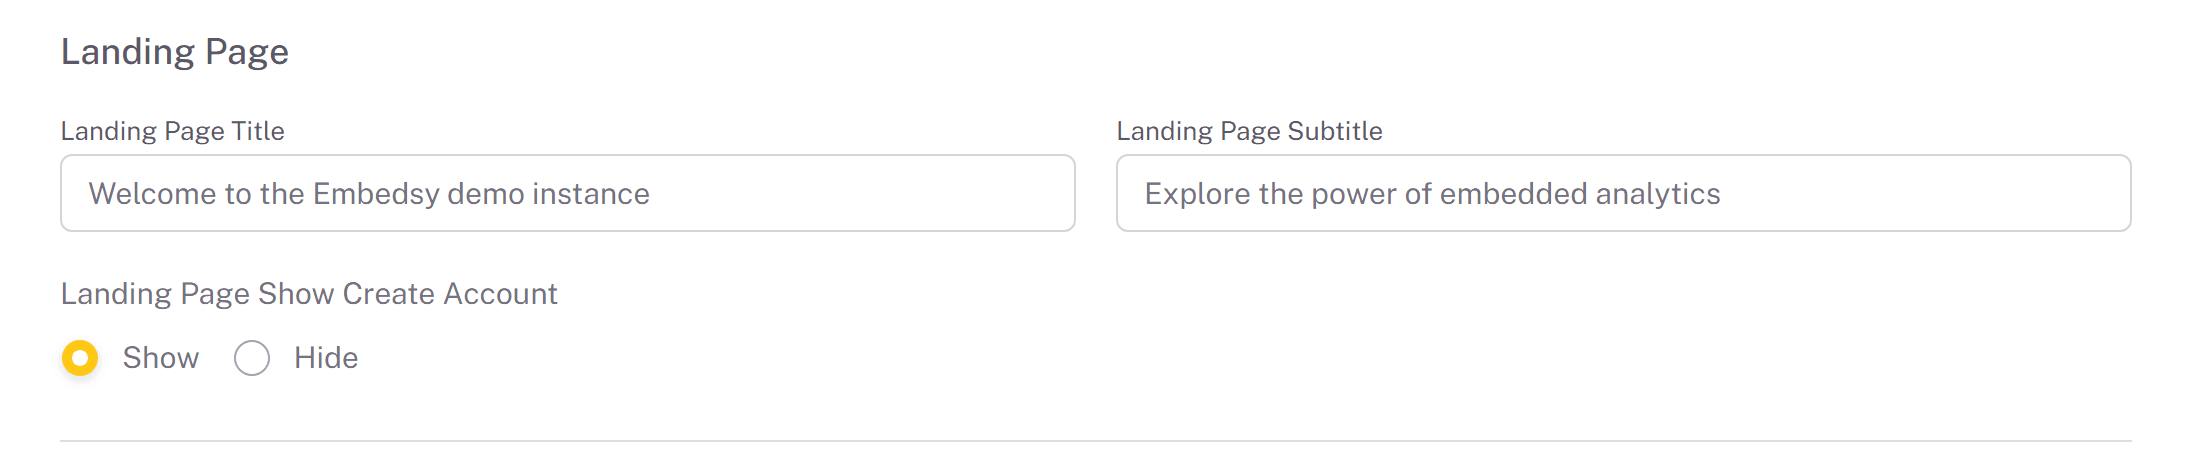
The title and subtitle shown on the portal's login screen, and whether visitors can create their own account from it. Turn account creation off for a portal that only admins should add users to.
Capacity
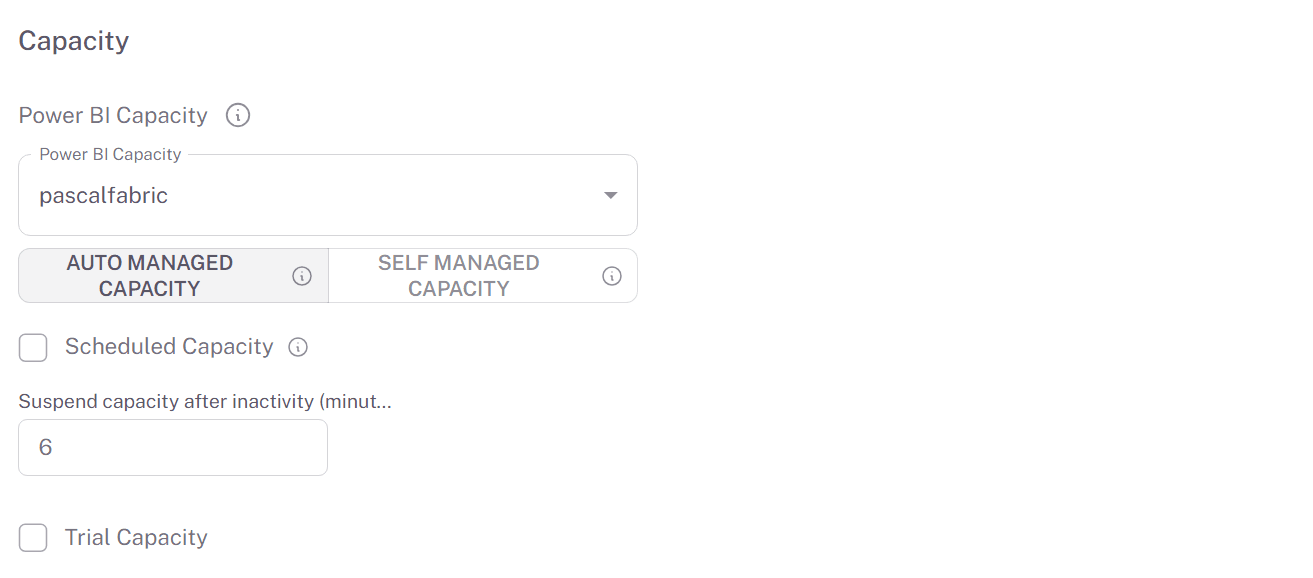
Which Fabric / Power BI capacity powers the portal and how it is run. Auto Managed Capacity turns the capacity on and off with user activity, suspends it after a set number of idle minutes, and can follow a schedule (Scheduled Capacity, times in UTC). With Self Managed Capacity admins start and stop it with the Capacity Status switch. Trial Capacity runs the portal on a Power BI trial capacity. This section is shown to super admins only. Choosing and connecting a capacity is explained in Fabric / Embedded Capacity.
Integrations
Shown as Nango, to super admins only: turn on the managed integration service with Enable nango integration and enter its Secret Key, User ID and User Email. The integrations themselves, Gmail and Slack, and the rest of the setup are covered in Third-Party Services.

Embed Visuals
A dedicated service principal used for publishing public, no-login embeds, kept separate from the portal's main service principal as an extra layer of isolation. It powers the Public Embed feature, which is where its setup and use are documented.

Preview & Premium Features
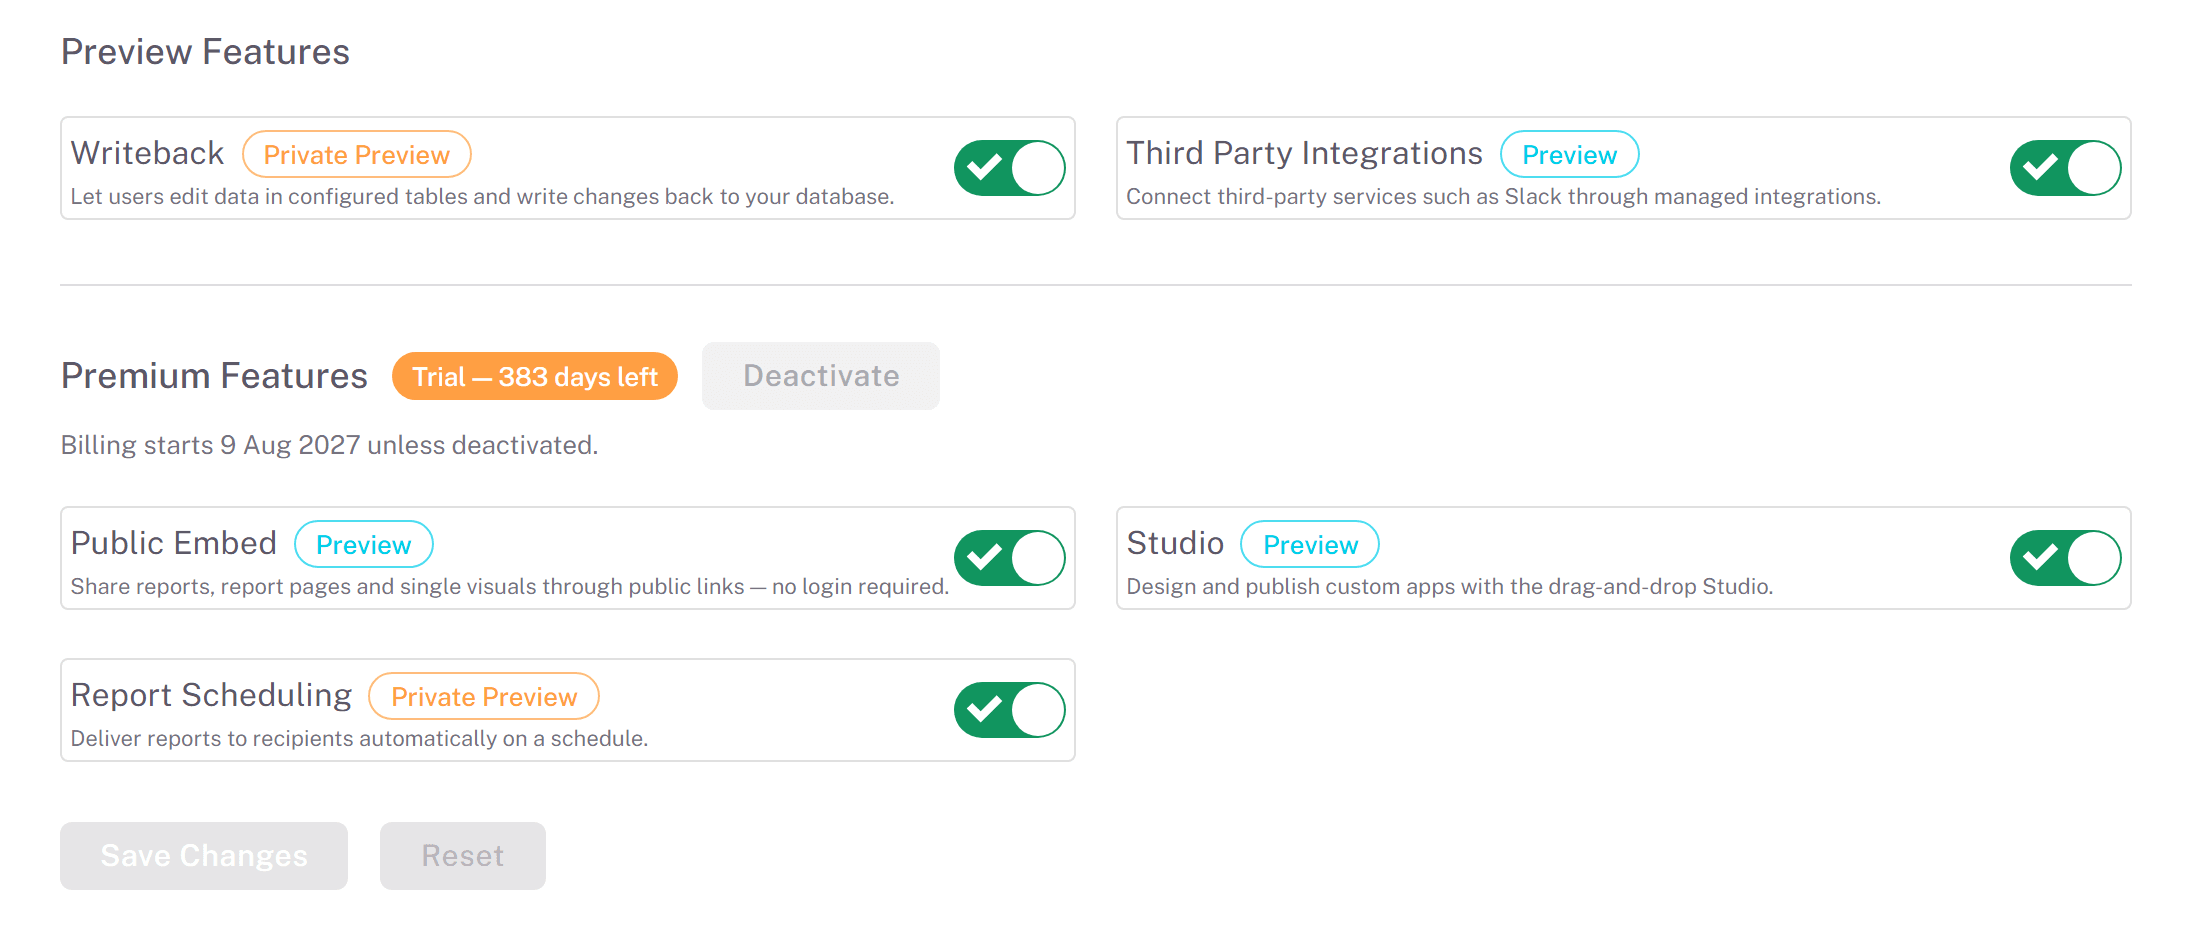
The switchboard for optional features, visible to super admins only. Preview features are newer capabilities you can turn on to try out; Premium features belong to a paid plan and show their trial or billing status here. The features switched on from this section include Studio, Report Scheduling, Embed Visuals (Public Embed), Writeback and Third-Party Integrations; each row is marked Preview, Premium or both. Turning a feature off also removes its section from Global Settings and its entry from the user menu.
Premium Features and the trial
Premium Features are activated for the whole portal, not per feature. The block shows one of four states:
- Not activated - an Activate Premium Features button is shown. Activating starts a 30-day trial.
- Trial - a chip shows how many days are left, with a note telling you the date billing starts unless you deactivate before then.
- Active - the trial has ended and the subscription is being billed.
- Inactive - the subscription was deactivated. A Reactivate button brings it back.
While the subscription is in trial or active you can toggle the individual premium features and use Deactivate to stop it. Deactivating is not destructive: your published apps and public links are preserved, but they are no longer accessible until you reactivate.